FAQ
Upload logo & background image
Adding Logo to your documents is very simple. Use your personal or company logo to ensure the professional appearance of the invoice. Follow the steps below to know how to add a logo to your documents.
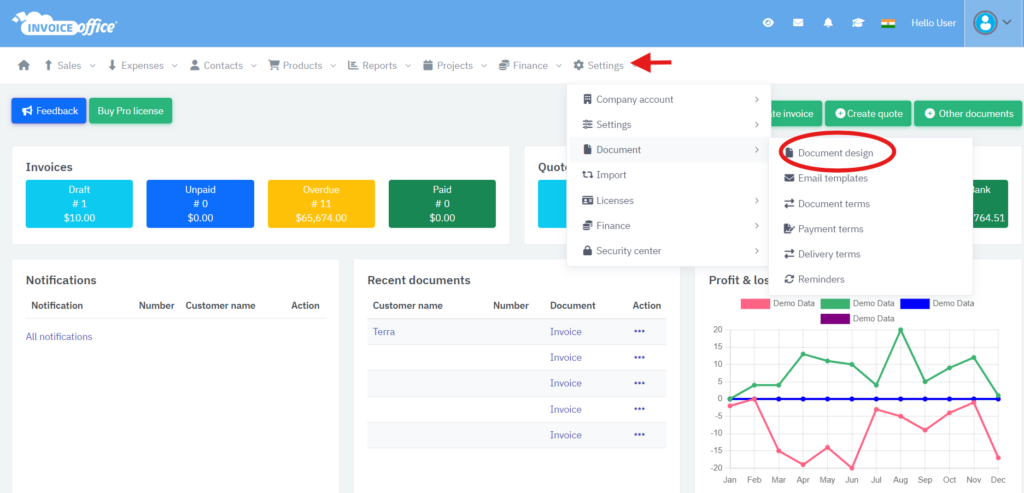
Step 1:- Click on Settings > Document> Document design in the upper-right corner of the main menu.
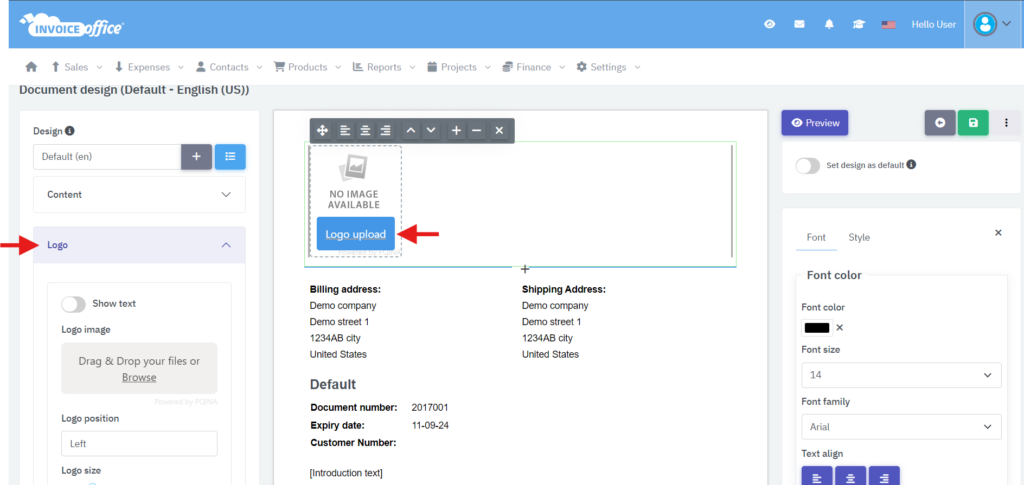
Step 2:- Click on the logo under document design.
Step 3:- Under Logo, you will find the Drag & drop files or browse button or you can upload from “Upload Logo” button. Click to select and upload your own logo. The file type must be .jpg, .gif or .png. contain a maximum of 20MB.
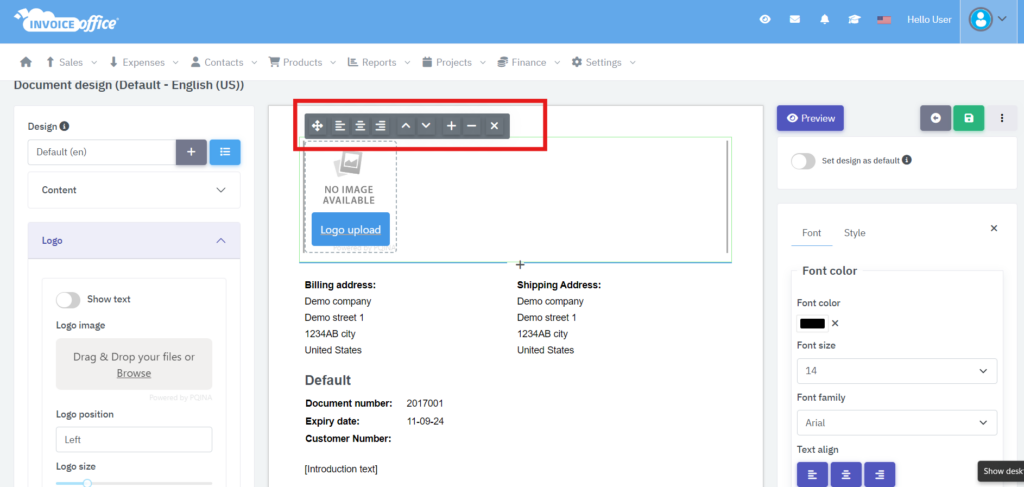
Step 4: After uploading your logo you can set the desired dimensions (height & width) of the logo via the appropriate buttons. Also, you can align your logo left/right/middle as per your requirements.
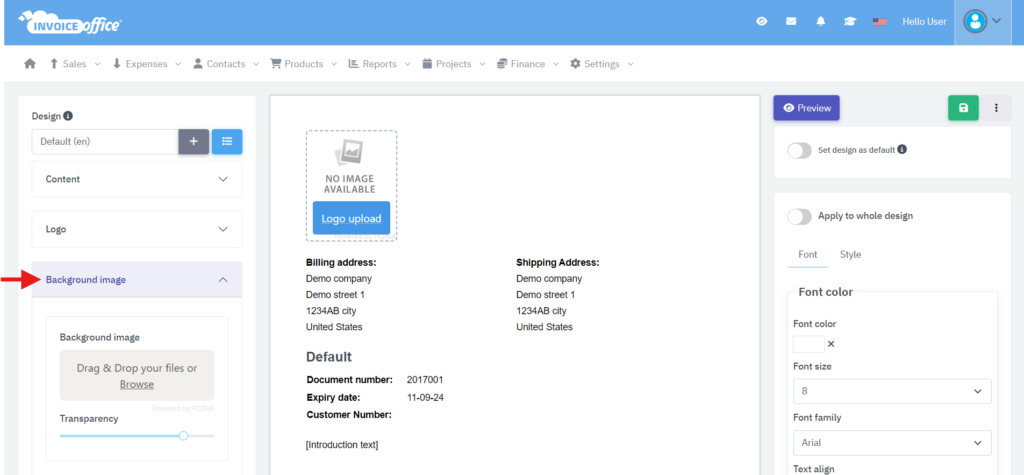
Similarly you can set a background image to your documents. Click on “Drag and Drop or browse” button under the background image section, you can also set transparency of this background image. Click on save and preview your document.
These customizations enhance the professionalism and branding of your documents, creating a cohesive and polished appearance.