Every time a client gives us a job, we set up a project and allocate those tasks to teams to complete.
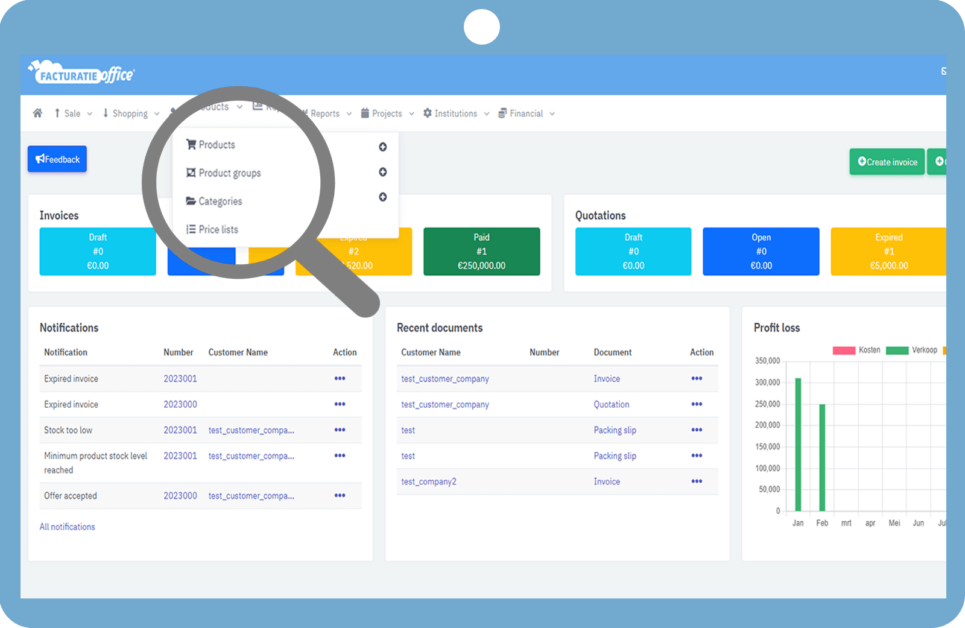
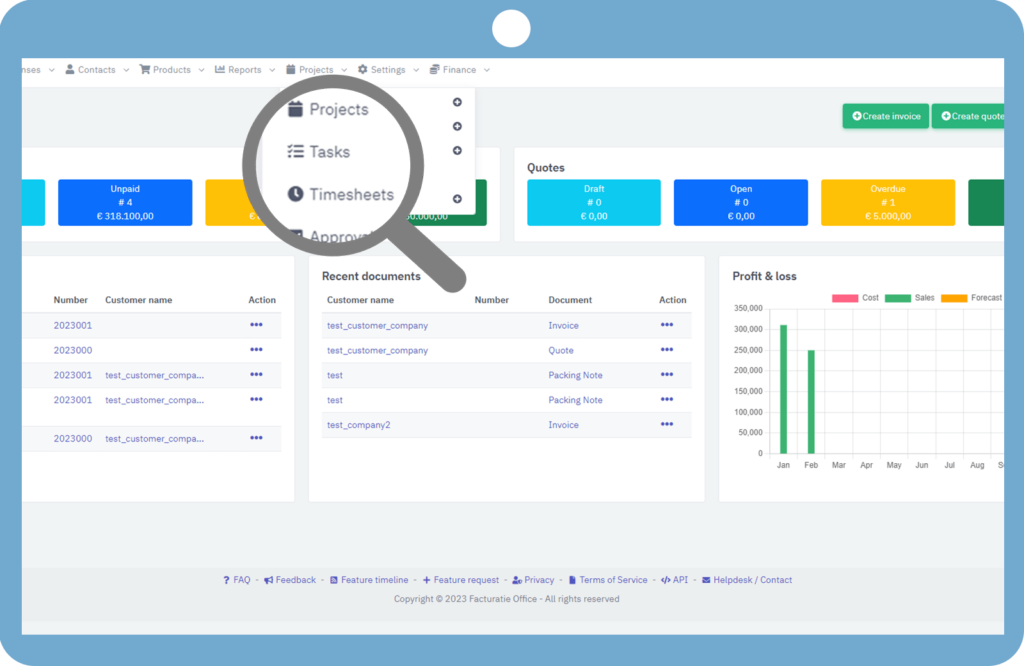
To create a project, Go to Projects > Projects
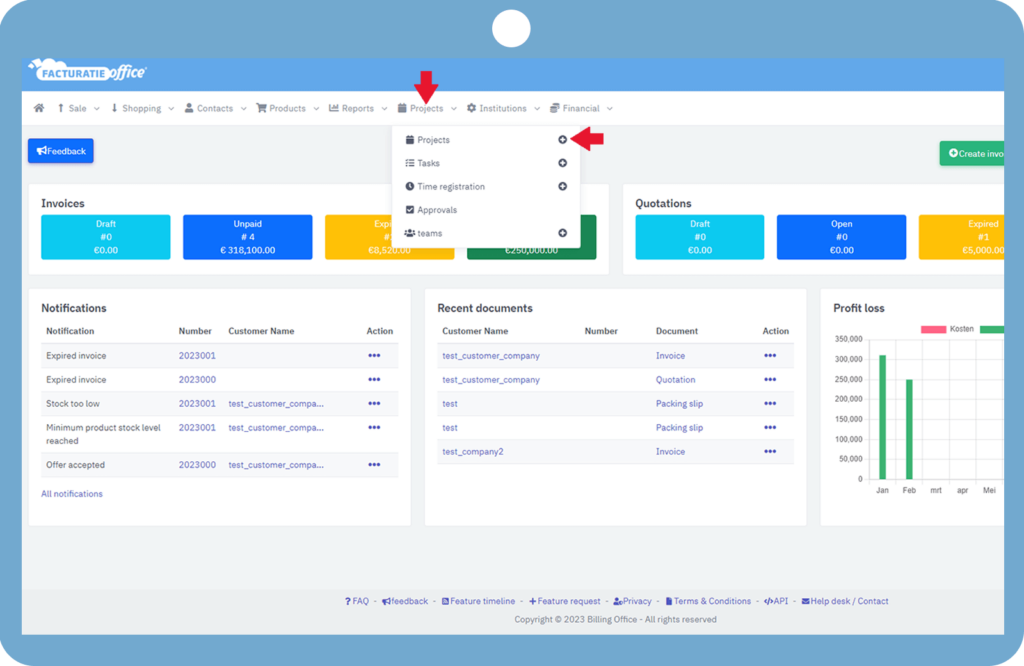
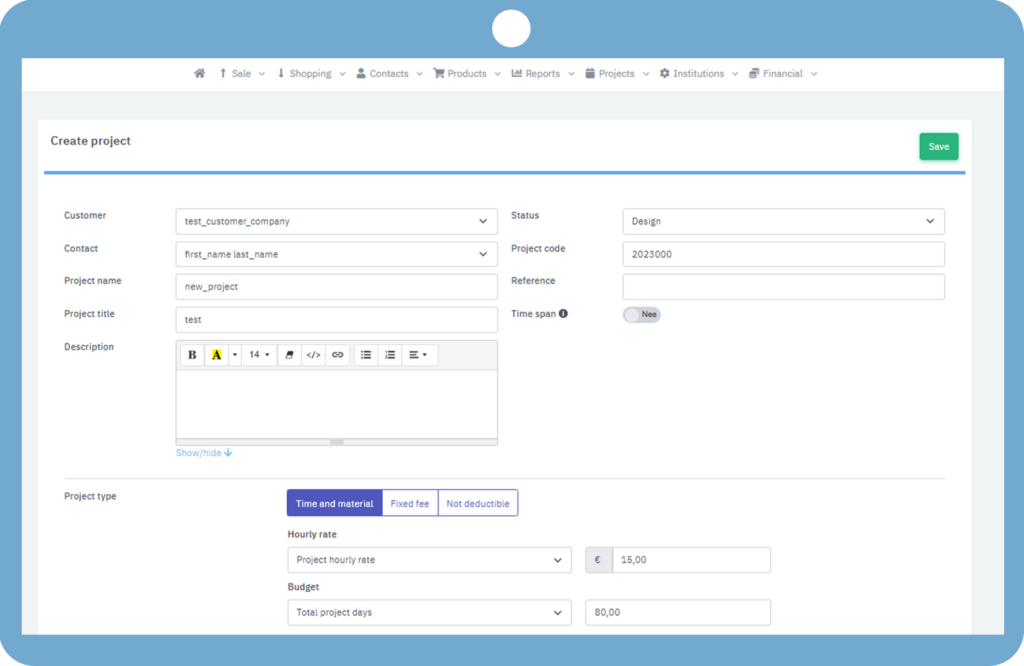
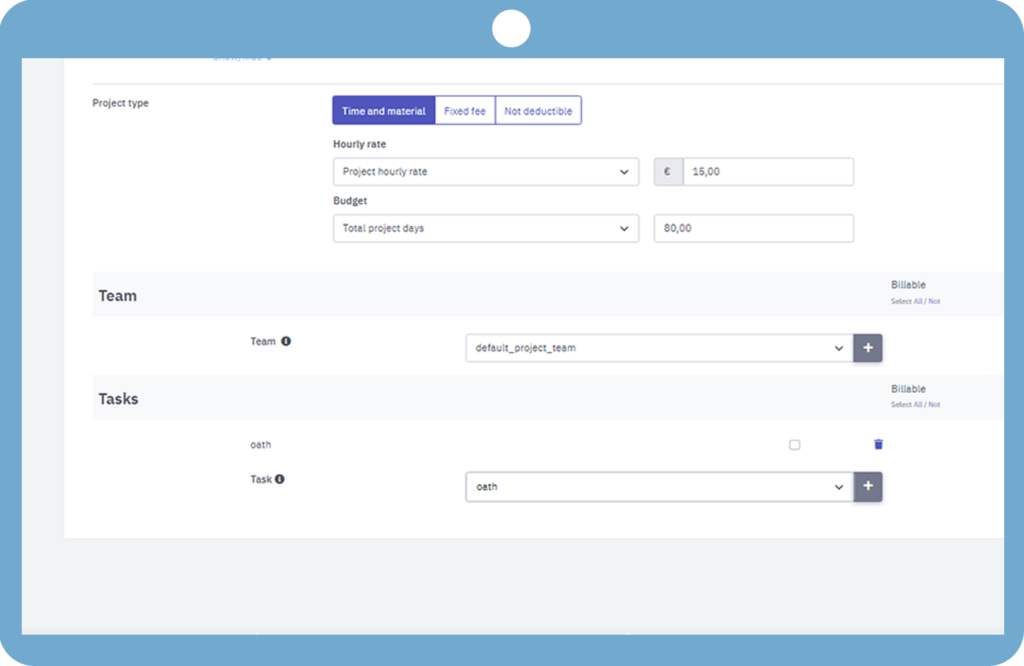
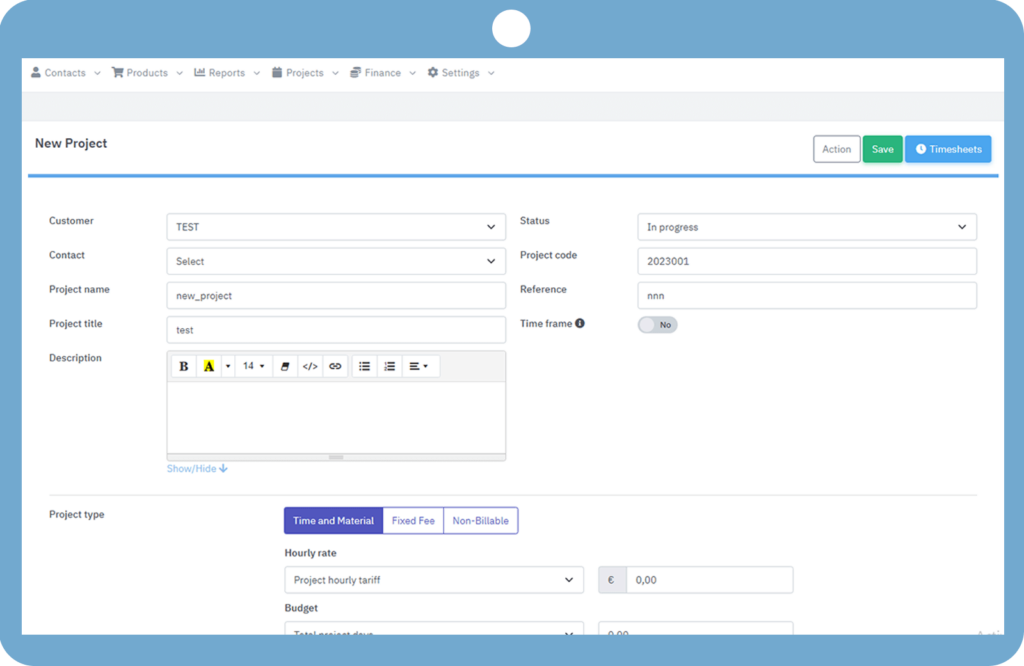
The page labeled “Create Project” appears on the screen. Here, you can enter the project’s data, starting with the customer’s name, contact information, project name, title, and status. You can also choose the project type, hourly rate, and budget, and assign teams and tasks to the project.
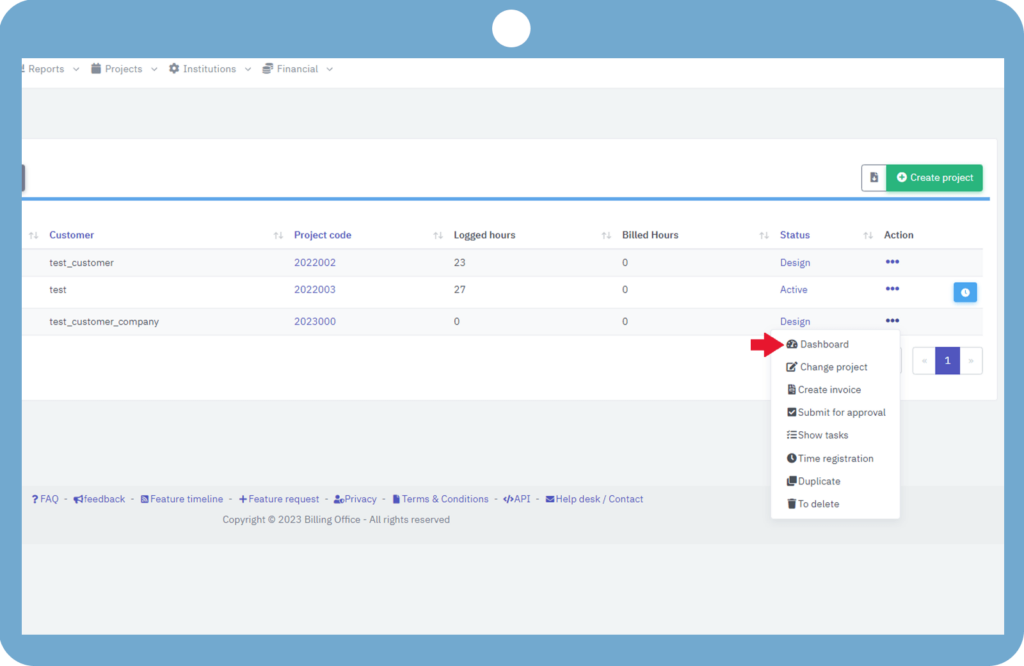
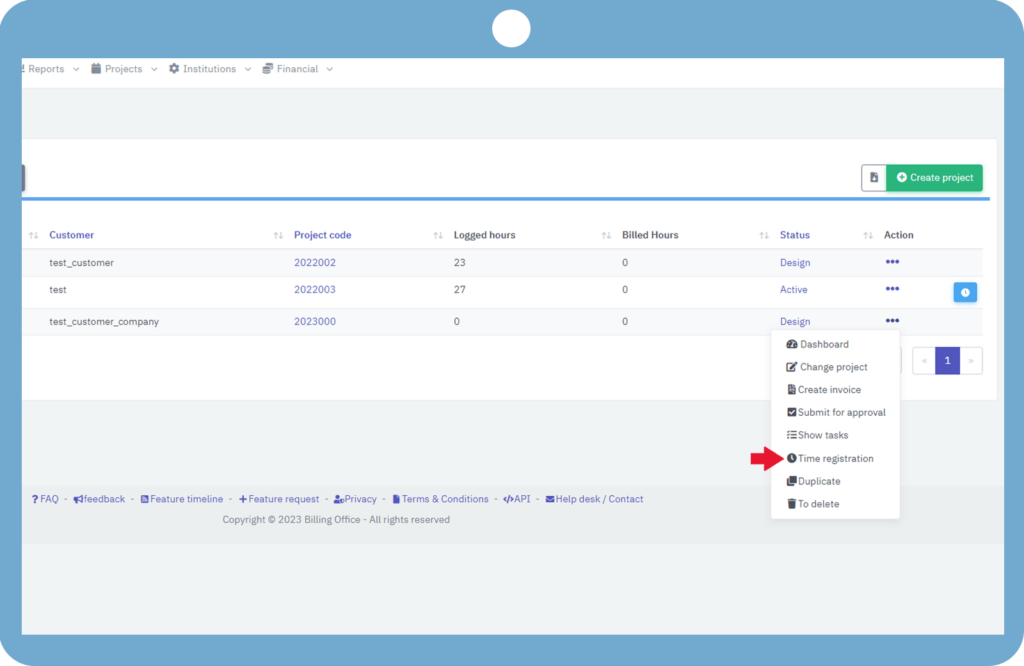
You can alter a project you’ve already created at any time by clicking the ellipses next to the project you wish to change, then selecting Change Project.
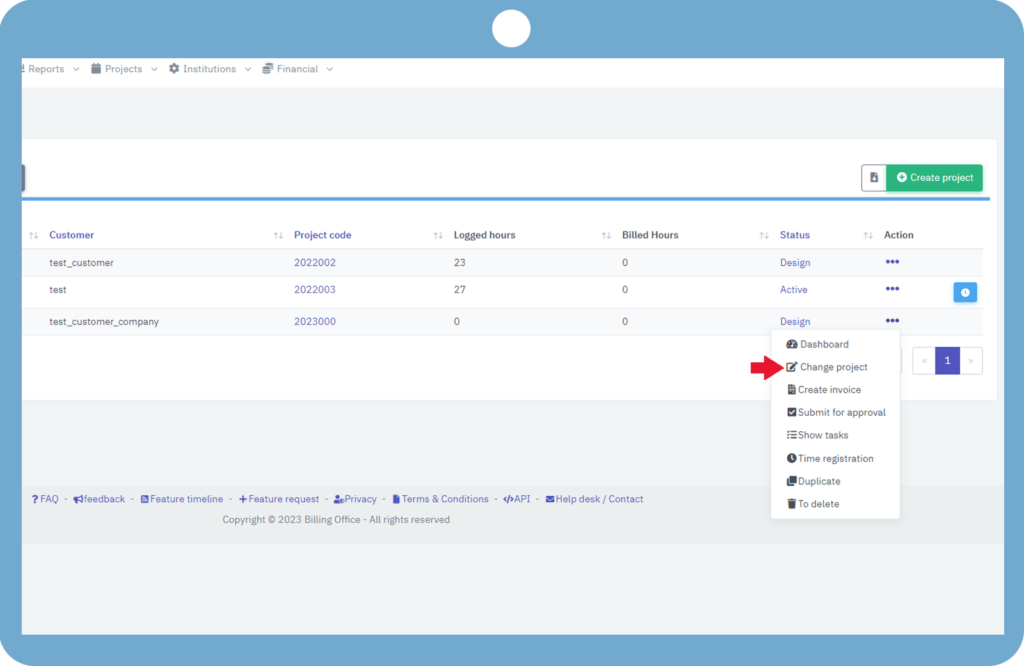
You can change any of the data here, and clicking “Save” will save your project.
Go to the dashboard via the project’s ellipses to check the status of your project.
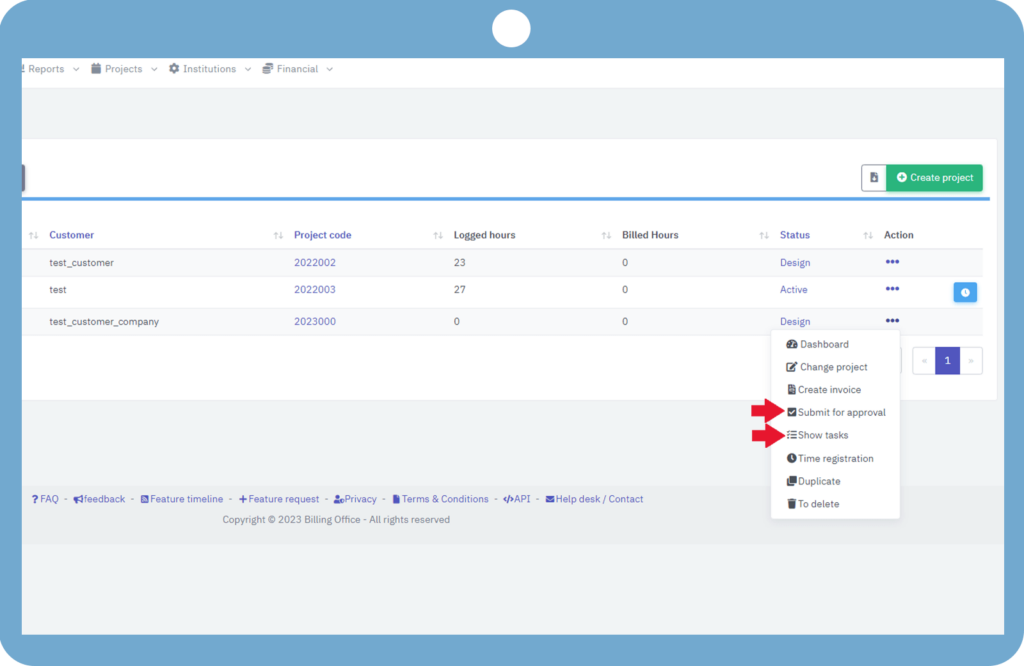
You can verify tasks by selecting Show tasks from the ellipses menu, and you can also submit this project for approval by selecting Submit for Approval.
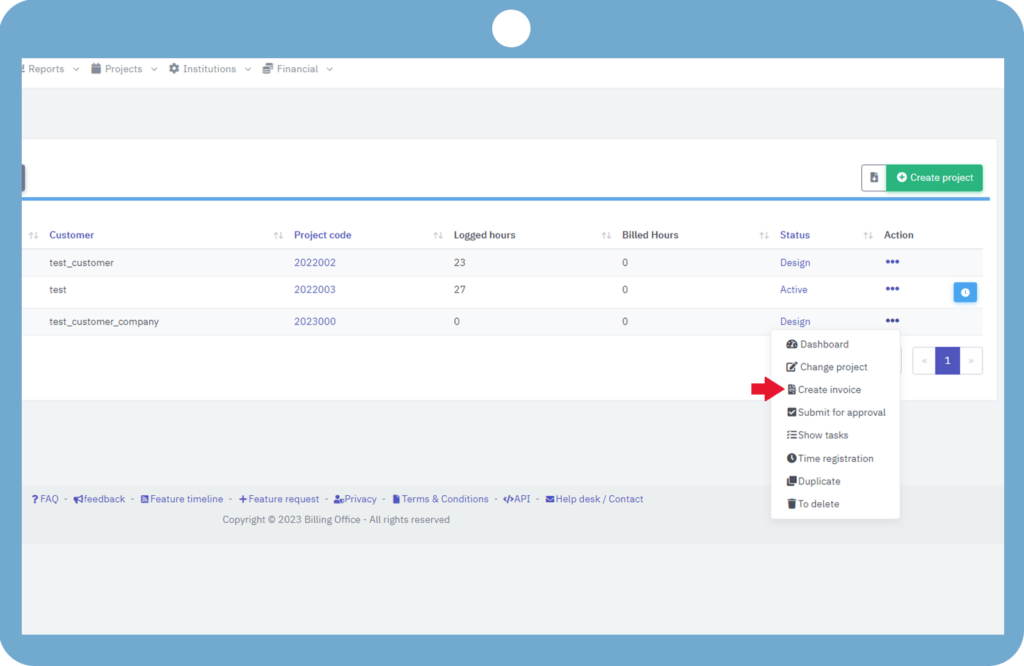
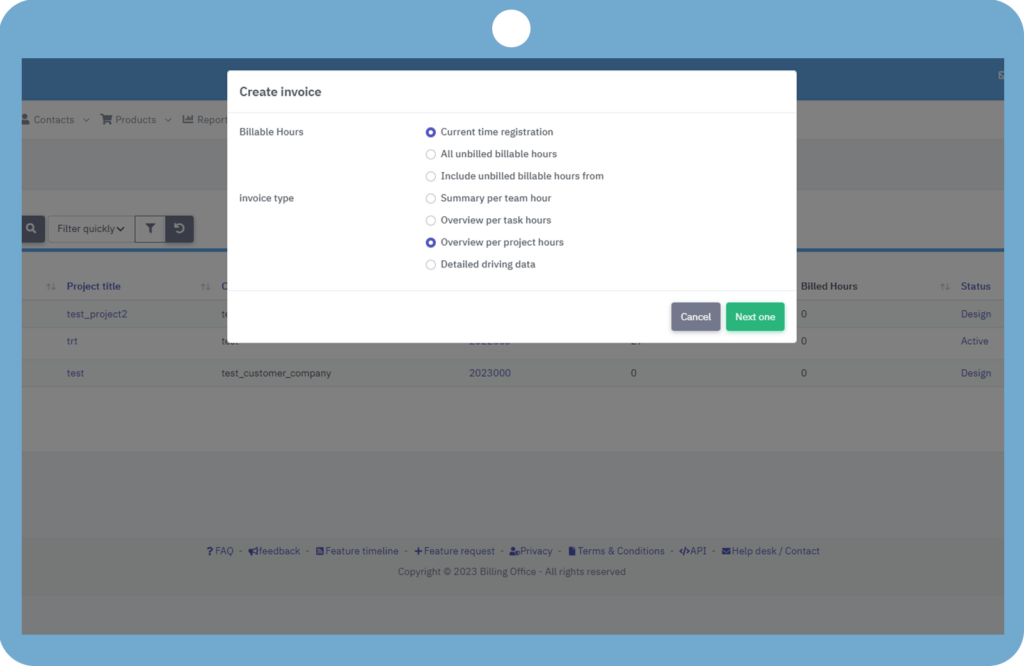
Simply click the create invoice button, make your selections for the invoice type and billable hours, and then go on to the project’s invoice.
Click on time registration, provide the necessary information, then choose start timer to register the project’s time.
If you have any doubt, feel free to contact us.
