Creating a product can help you manage your documents such as invoices, packing notes, and so on. It is beneficial to centralize all of your product or service information. Let’s get started on how to develop products.
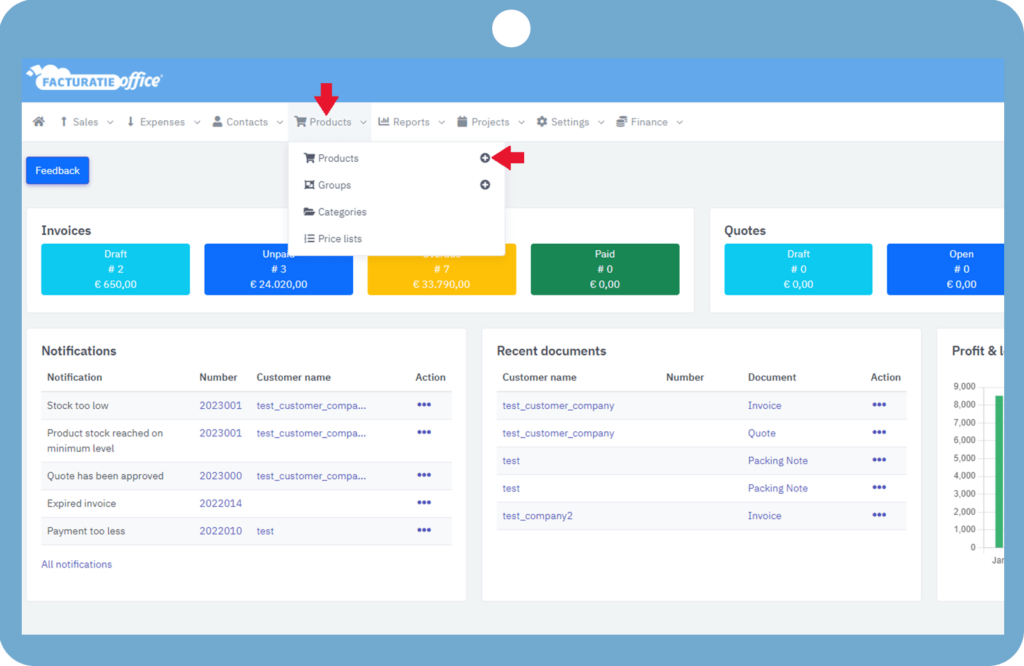
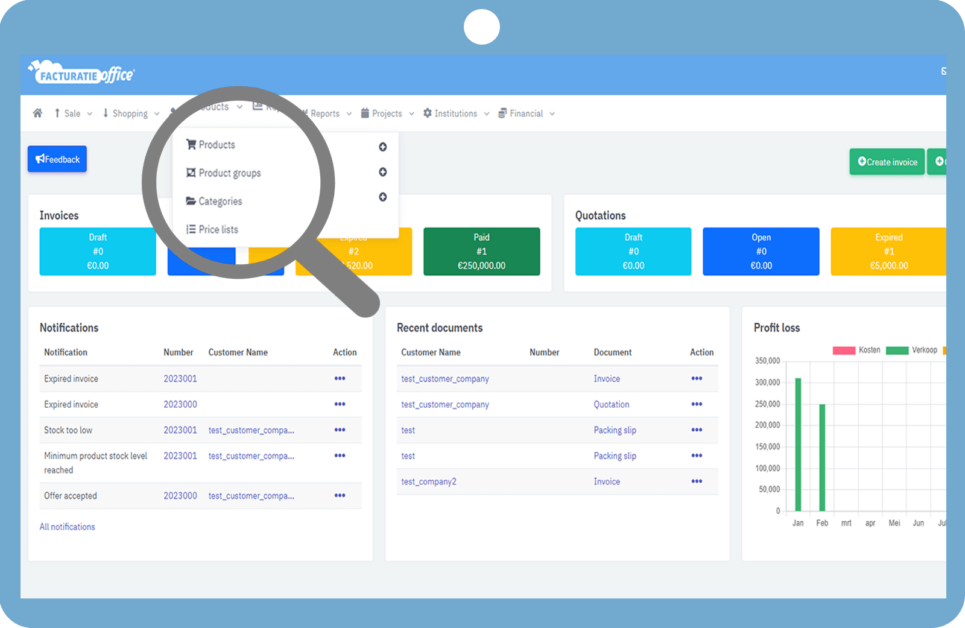
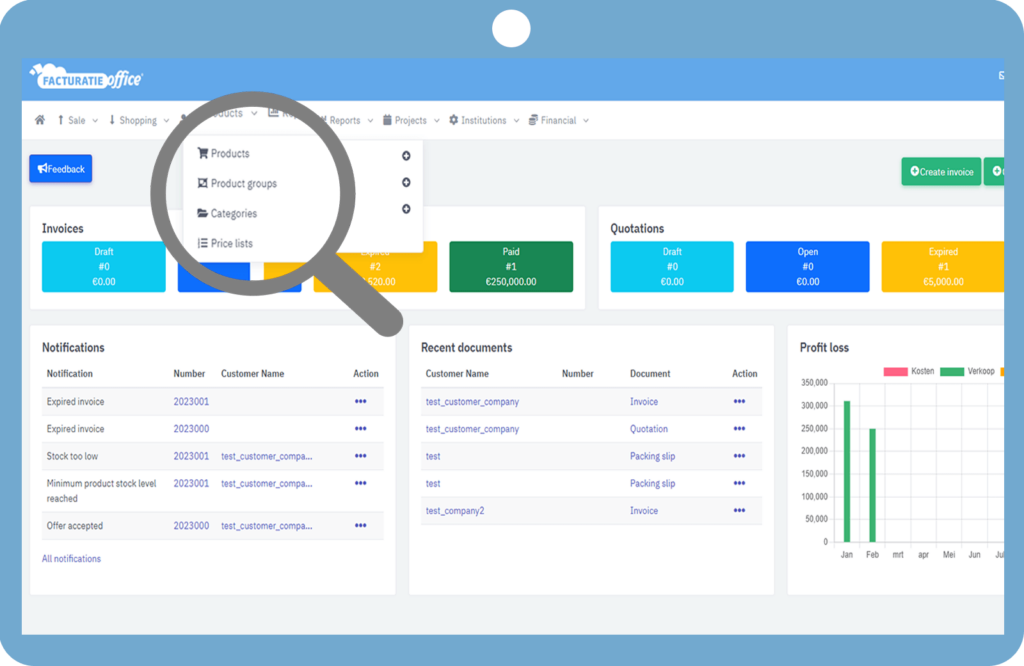
Navigate to your products and click the plus sign of Product button.
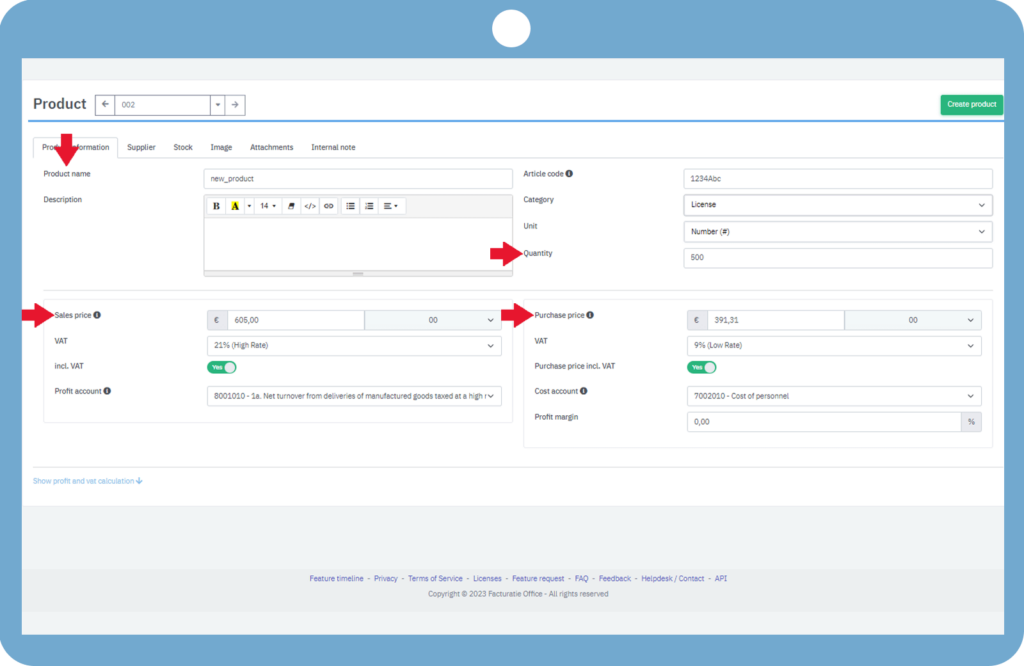
This will take you to the product page, where you can enter all of the information beginning with the product name. Default quantity of the product when making invoices or packing notes, At what price do you want to sell your goods, how much tax is relevant, and how much tax did you pay to acquire the product, etc.
Then we proceed to supplier information (use this field for the provider’s identification number) and choose your product supplier.
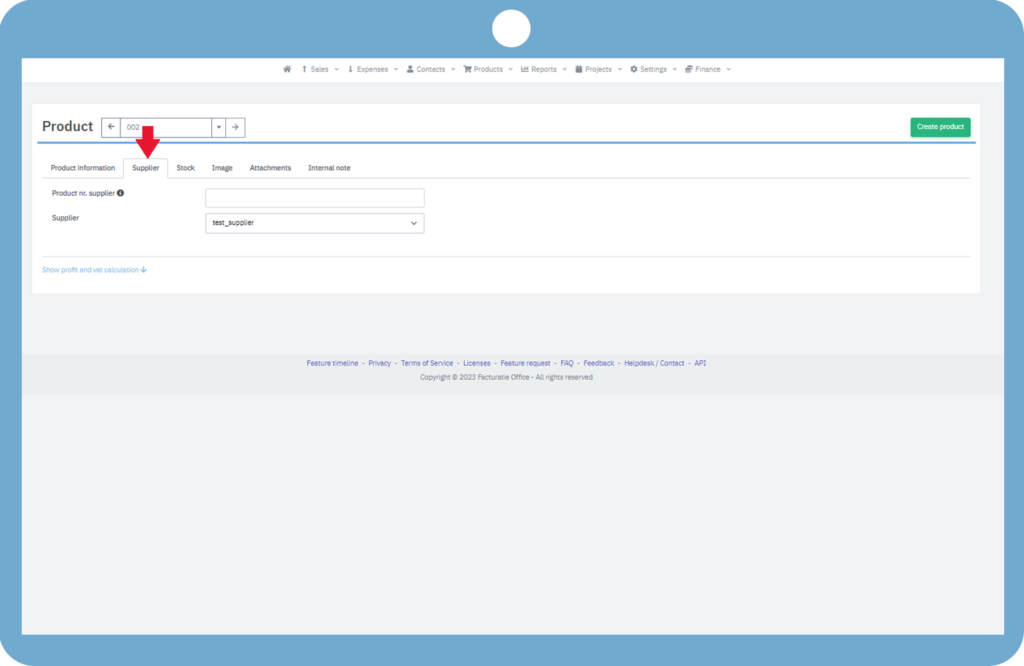
You can also track your product inventory by enabling stock tracking here.
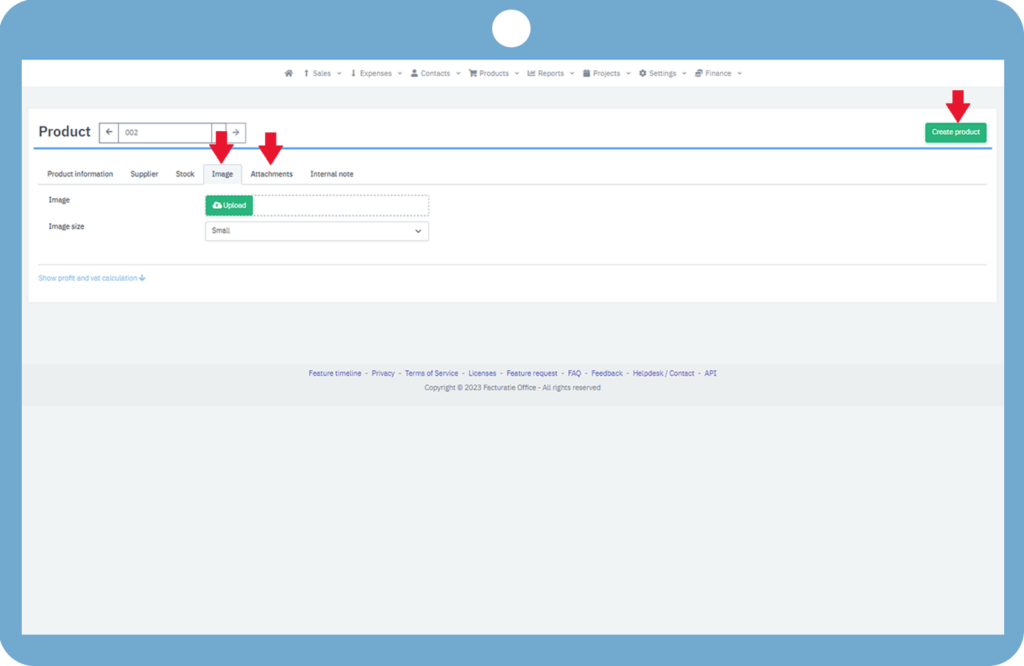
You can also upload an image of the product and select the size of the image. Also, upload attachments if needed, then click on create a product.
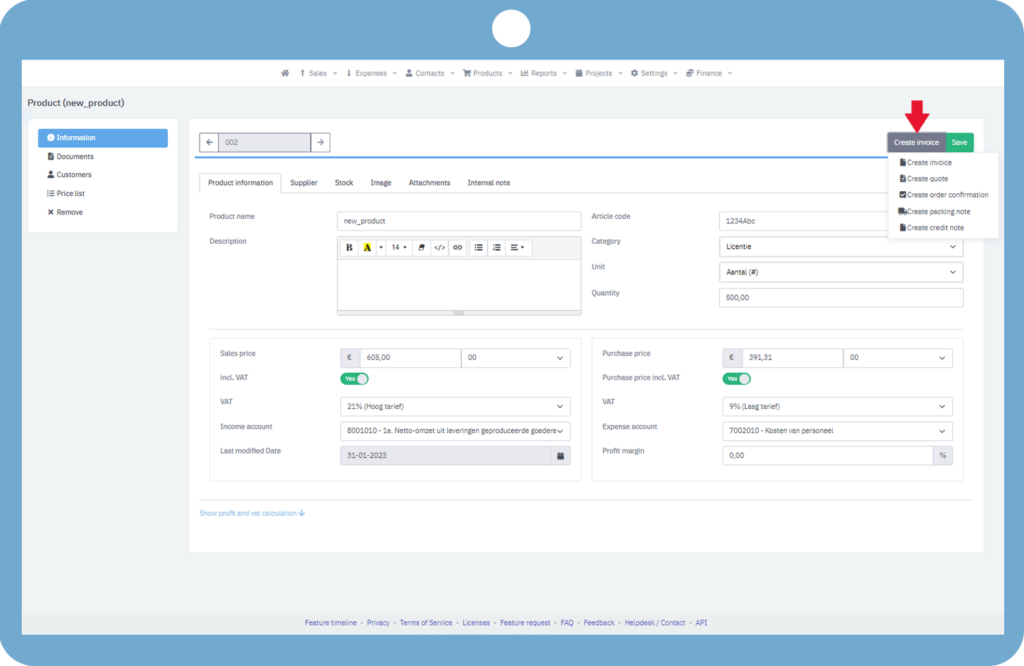
Click on the appropriate product if you wish to change or examine the information about it. The product information page appears, where you can change or see all of the product’s details.
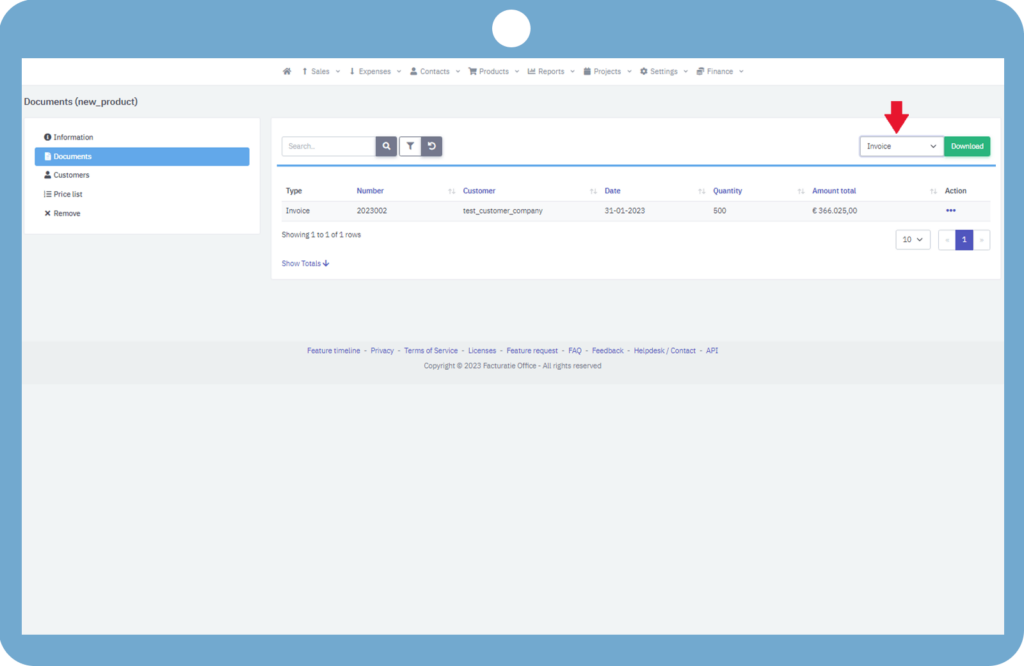
It will display the documents that include the product. By default, it displays invoice documents, and from here we can select the type of document for which we want to examine the information.
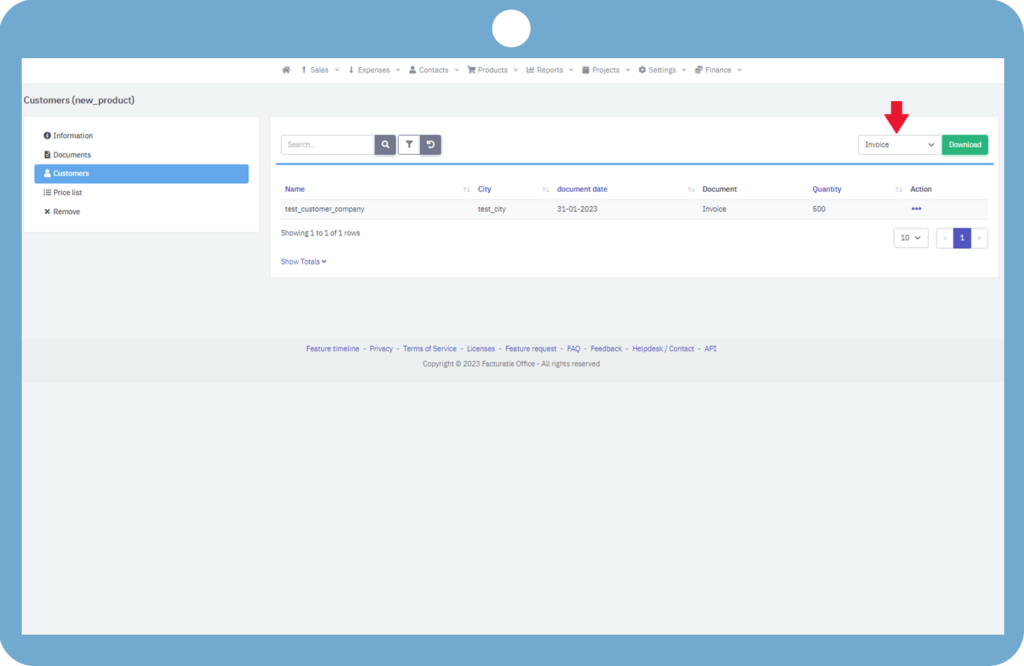
From the customers, we can see who has purchased this product.
If you have any doubt, feel free to contact us.
